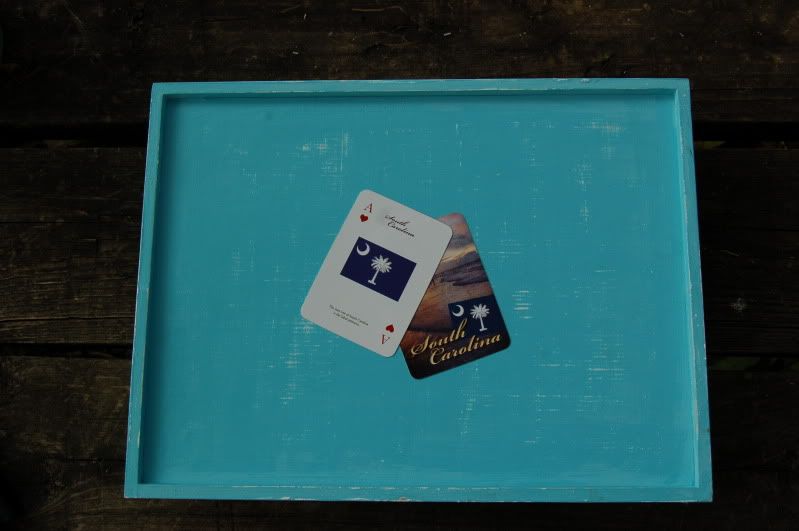
Materials needed:
Wooden serving tray
Playing cards
Acrylic Paints
Sandpaper
Wooden handle foam brush
Paintbrush
Mod Podge
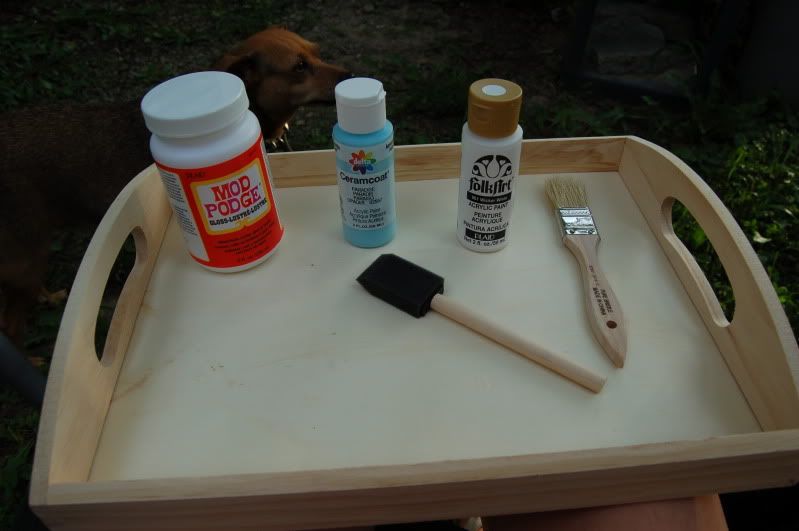
Step 1
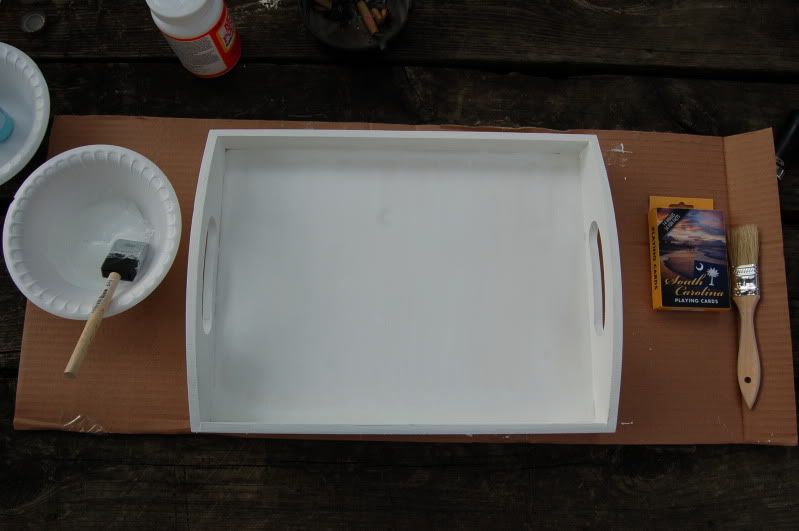
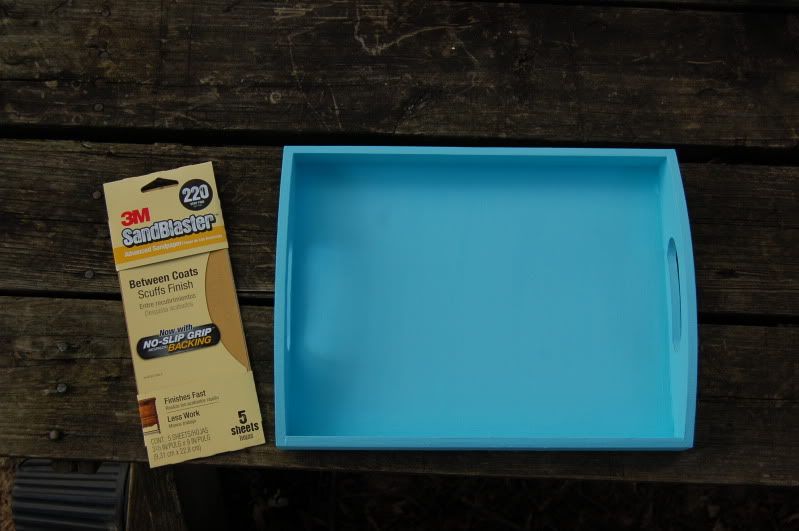
Gather your materials. Ensure tray is clear of debris. The wooden tray can be purchased at almost any craft store; I purchased mine at Michael's for $4 (learn from my mistakes: don't forget your coupon!). The first step is to paint the undercoat (I recommend two undercoats). I used white, but you should choose whichever color you want to show through after sanding. I used the paintbrush to apply the paints, but the foam brush would also be an appropriate tool.
Step 2
When the undercoat has dried, apply the topcoat. I used blue, as seen in the picture. Again, either the foam brush or paintbrush would be appropriate tools for application.
Step 3
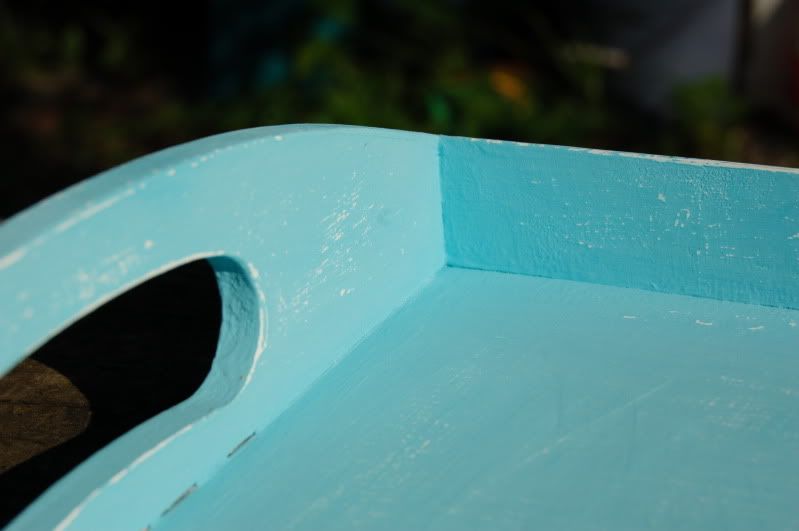
The next step is to sand the tray so the undercoat roughly shows through the topcoat. Sand to your taste; I recommend a fine to mid-grade sandpaper. The finer the paper, the more elbow grease you'll need, but it's easier to sand more than to put back when you've sanded too much with a more coarse grain.
Step 4
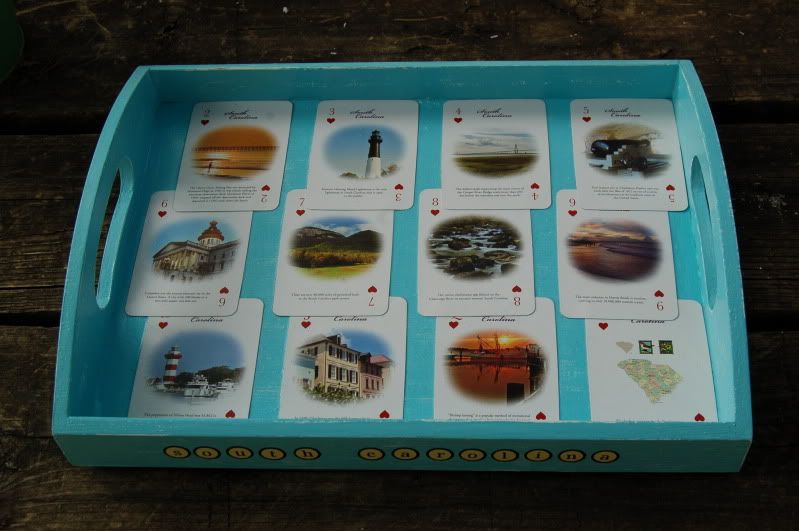
Now is the time to add words to the side if you like. As mine serves as a souvenir from the beach, I used scrapbook stickers to label the side "South Carolina". Other ideas might be to use rub-on transfers or to paint the letters. There are several methods of applying words to wood.
Step 5
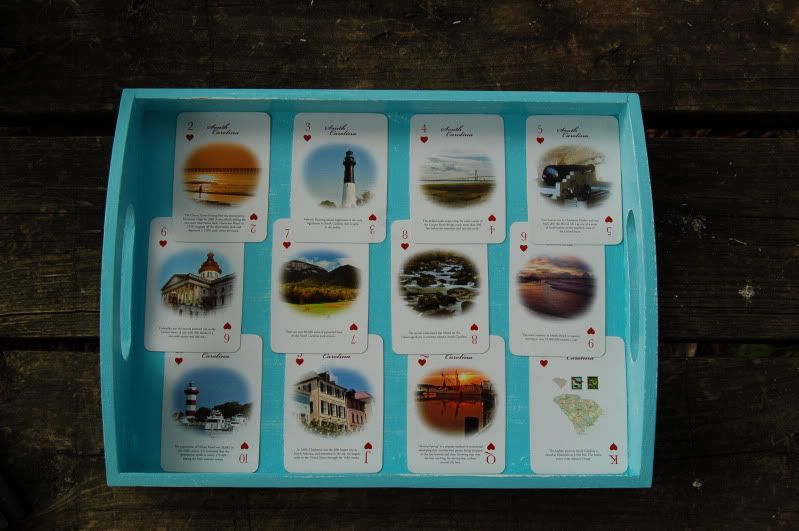
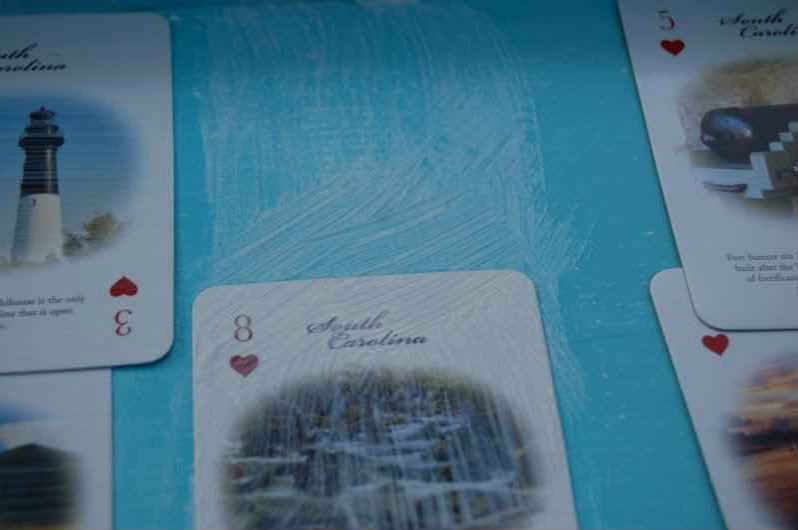
Next, decide how you will arrange the playing cards. Since mine features unique cards with special pictures and facts, I wanted the details to be seen. I didn't want to overlap the cards very much. Apply Mod Podge (available at Craft Stores or Wal-mart) with either the paint brush or foam brush to the face of the tray. I recommend doing this in small sections and placing the cards as you apply the adhesive. Continue doing this until the cards have been adhered in the design desired.
Step 6
When the cards have been placed as desired and adhered, apply Mod Podge on top of the cards. For a finishing coat, you might consider a clear acrylic or lacquer paint. These photos do not show that finish as I did not apply that technique.
Pin It