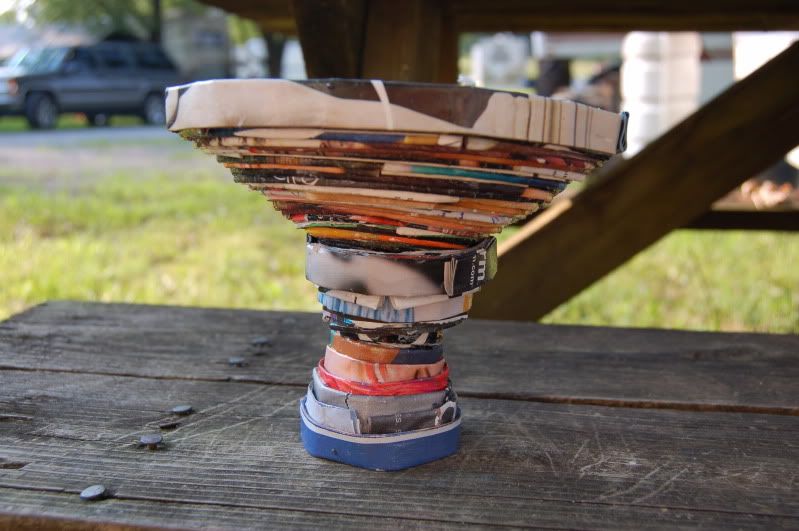
This catch-all bowl is made of magazine pages and Mod Podge. It can be somewhat challenging and messy, but it is lots of fun and worth the effort. If you have any questions, feel free to post them here or e-mail me.
Materials needed:
Magazine pages
Mod Podge
Wooden handle foam brush
Pin It
Step 1
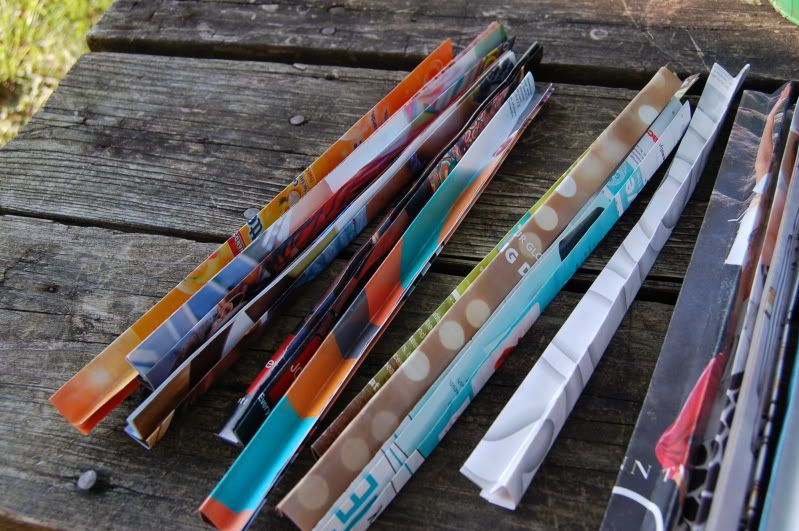
Clear a workspace that it is okay to get glue on. You'll need at least enough room to open a magazine fully. Begin by tearing out magazine pages. When you have enough to get started (you can make more if you need to), begin by folding each page in half vertically until you have a strip of paper the width you desire. I believe I folded four times. It is easier to work with the strips in the next step when they have already been crisply folded.
Step 2
Now you have several crisply folded pages. Open up the Mod Podge and apply with your foam brush to the insides of the folds. It is not necessary to use a lot of adhesive here because you want a strip flexible enough to mold its shape, but firm enough to be a sturdy element in the structure of the bowl. Hold in place for a few seconds so the paper doesn't try to come apart from its fold. Place each one aside to dry.
Step 3
Now you can begin the fun part: start shaping that bowl! You will begin by rolling a strip into a flat spiral. Do this once first without the MP so the strip can "remember" the shape to take when it does have MP. The spiral will not be perfect--remember, we're using thick strips of paper stuck together with glue. There will be small holes and gaps, but that's okay. It's part of the look. Apply MP to the side of the strip that will face inside as you roll, and then roll into a flat spiral. While you only had to hold the drying strips for a few seconds, shaping the bowl requires you hold each strip a little longer. When the strip doesn't start to unroll, you have allowed it to dry enough and can set it aside. While you are waiting for it to dry and have hands free, you might go ahead and repeat steps 1 & 2 so you have plenty of strips for the project.
Step 4
Continue to enlarge the flat spiral until the base is the width you desire. I did not use a wide base on my bowl. When the base is the width you like, you can begin going up with the strips to give the bowl depth. Beginning where the last strip left off, wrap the strip just slightly higher than the base. I only went about half a strip higher. Again, hold each strip in place to get it secure, then allow it to dry for a couple minutes before adding the next one. Continue this until the bowl is the depth you desire. With each strip added, the diameter of the bowl increases, and so you will begin to need more strips to make it all the way around the bowl. You might consider using clothespins or binder clips to hold the strips in place while you work on something else.
Step 5
When the bowl is the depth you like, you can even out the top by bringing the top corner of the strip even with the top of the bowl. You might consider a final coat of MP all over the bowl for extra hold.
Step 6
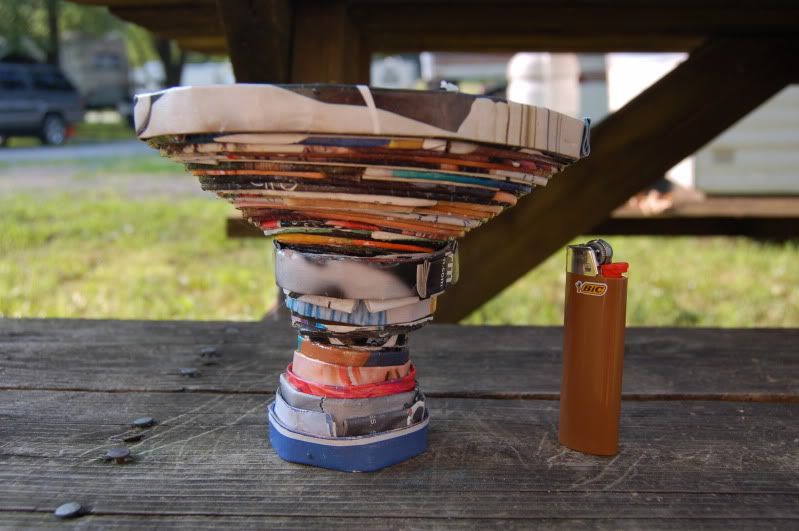
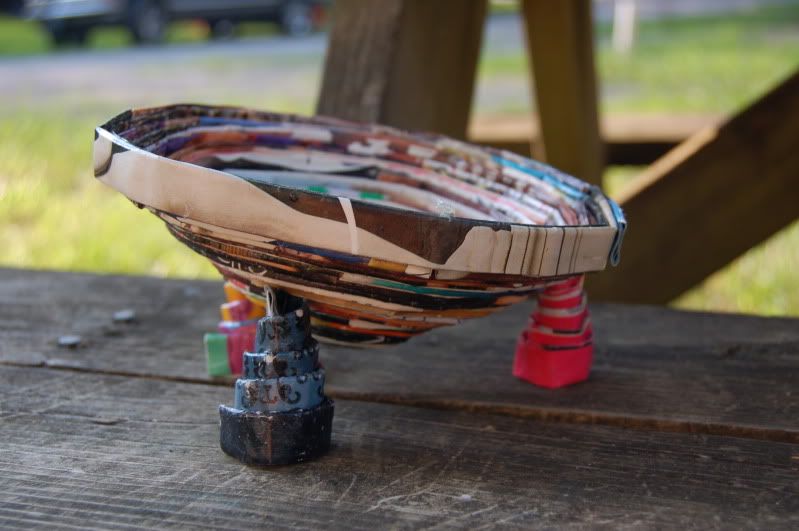
You now have a catch-all bowl made of magazine strips and MP. I also made stands for mine: an hourglass stand and three separate legs.

Step Seven
To make an hourglass stand, follow the same steps to form the strips. Make a flat spiral for the middle and build up. Then turn it over and build the new up. They don't have to be the same height on both sides.

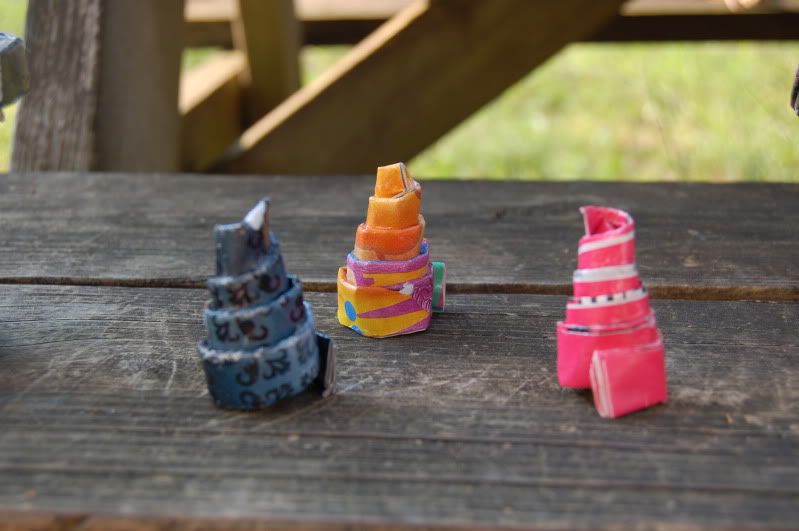
To make spiral leg stands, take one dry strip and swirl it into a spiral. You might use your finger or a pen or something to get the shape, but then you will remove it from what you use to shape it. Then barely push the edges inside each other so that the smallest part is inner to the helix before it. Holding it in one hand, apply MP to the whole thing. Hold this for a few minutes. It will lose shape easily if you do not hold it long enough. When you have three, you have enough for the bowl. You can attach them or not; you can have the wide part of the leg at the bottom or top. Be creative with your project; let your creative spirit roam free :)
No comments:
Post a Comment